
 Italiano

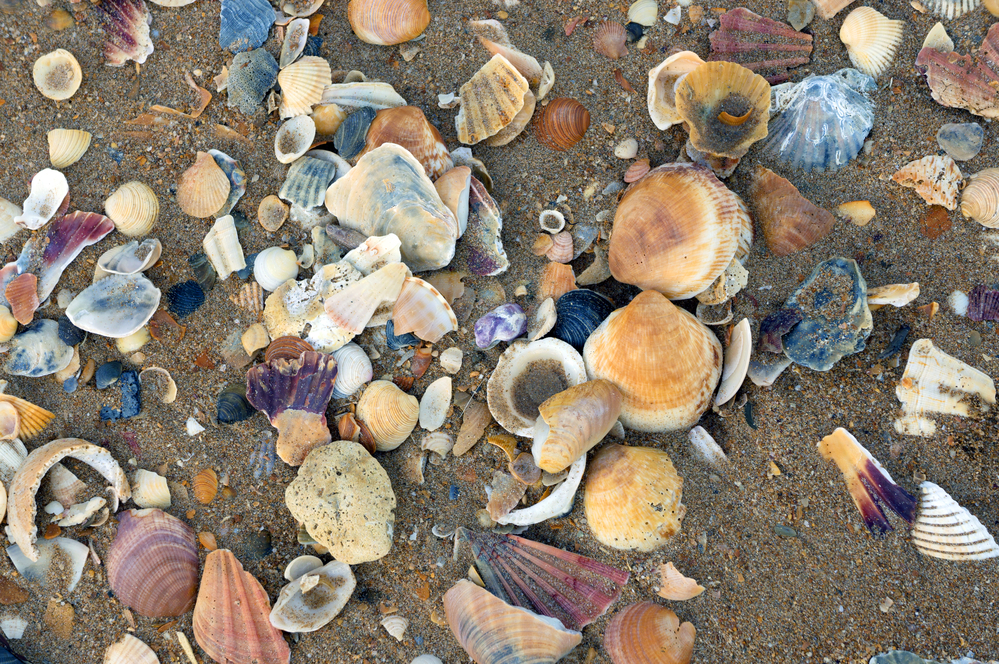
DIY shell necklaces are a creative and fun activity to do with your kids. Not only do they allow you to spend quality time together, but they also provide an opportunity to create unique and personalized jewelry. In this tutorial, we will show you step by step how to make beautiful necklaces using shells collected during a beach walk. Get ready to dive into the world of creativity!
Materials needed
Before you begin, make sure you have the following materials on hand:
- Shells of various shapes and sizes
- Scissors
- Necklace cord or sturdy string
- Lobster clasp or adjustable cord
- Beads or other small decorative elements (optional)
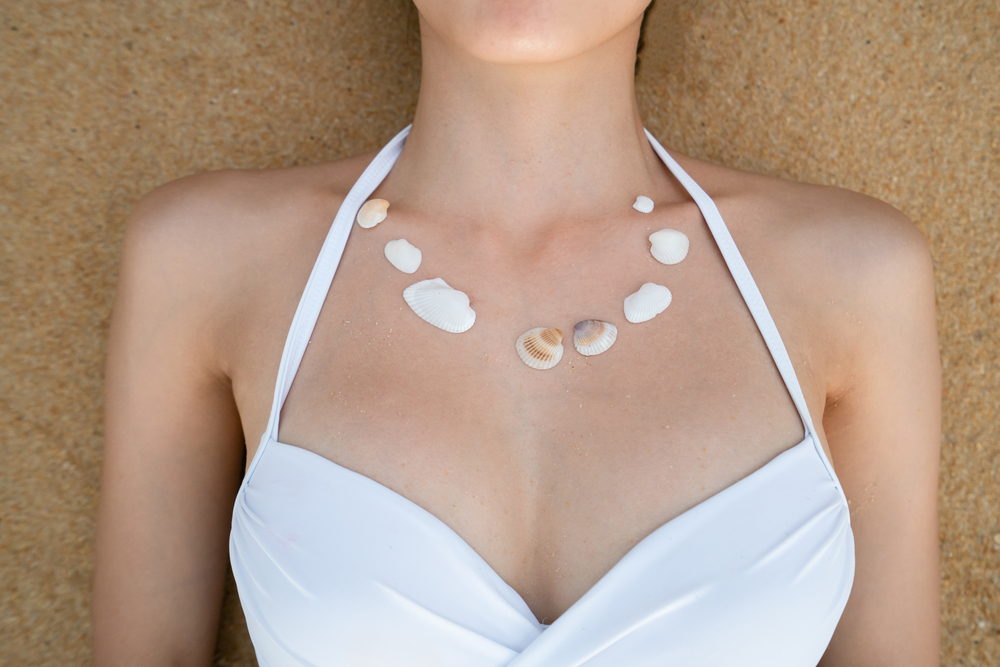
Collecting seashells
The first crucial step in creating your beautiful DIY seashell necklaces is gathering the necessary materials. Plan a delightful day at the seaside with your children, where you can enjoy a leisurely walk along the beach in search of unique and fascinating seashells. This activity will not only stimulate your little ones’ creativity but also provide an opportunity to explore the marine environment and learn about marine life.
As you embark on your seashell hunt, remember to be mindful and respect the environment. Avoid collecting shells that are inhabited by small marine creatures, as it’s essential to preserve their natural habitat. Make sure to follow local rules and act responsibly during your collection.
To make your seashell necklaces even more fascinating, try to select shells of different shapes, colors, and sizes. This variety will create an interesting visual effect and give your creations a unique touch. You might find star-shaped shells, spiral shells, or even heart-shaped shells. Involve your children in selecting the shells, allowing room for their creativity and the discovery of extraordinary shapes.
Remember that the collected shells don’t need to be perfect or symmetrical. In fact, the natural imperfections of shells often make them even more fascinating and authentic.
Once you’ve finished collecting the shells, you can return home with a variety of marine treasures.
Preparing the Shells
Once you’re back home with the shells, it’s time to prepare them for necklace-making. Ensure they are clean and free from any sand or algae residues. You can gently rinse them with water and, if needed, use a small brush to remove any remaining debris. Let them dry completely before moving on to the next step.
Creating the Necklaces
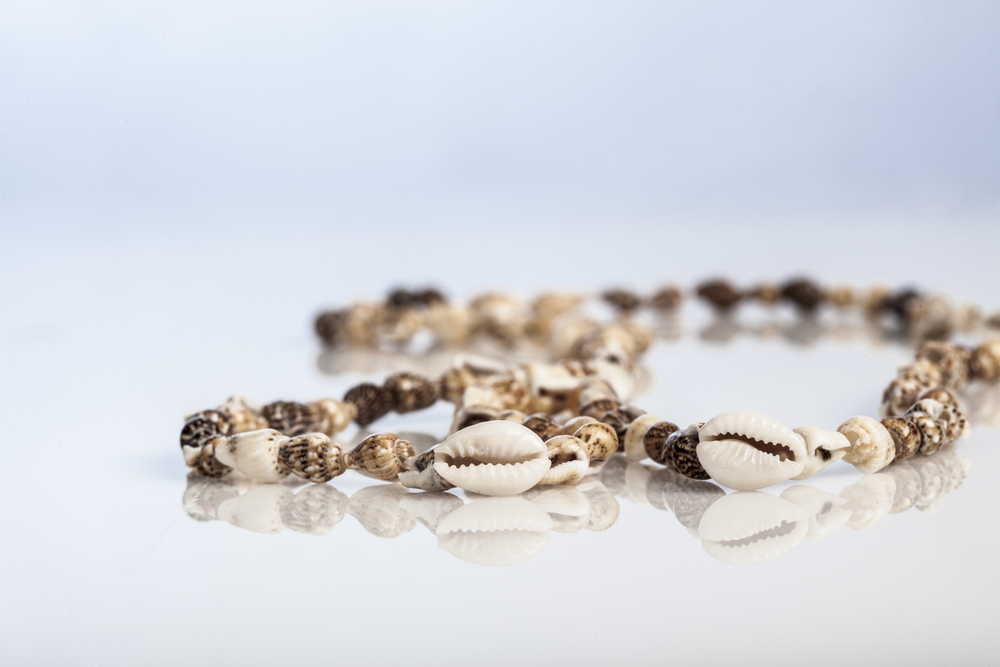
Now that the seashells are ready, it’s time to start creating your DIY necklaces. Follow these simple steps:
- Take a piece of necklace cord or sturdy string of your desired length for your necklace.
- Attach the lobster clasp or adjustable clasp to one end of the string.
- Start threading the shells onto the string. You can alternate different shapes and sizes to create a more interesting effect. If you wish, you can also add beads or other decorative elements between the shells to further personalize your necklace.
- Continue threading the shells until you reach the desired length.
- Once you’ve reached the desired length, attach the other end of the string to the lobster clasp or adjustable cord.
To add earrings
To create a matching set of seashell jewelry, you can also make earrings to complement your necklaces. The process is similar to creating necklaces, but instead of stringing the shells onto a long thread, you’ll need to use special earring hooks and attach them to the chosen shells. This way, you’ll have a beautiful coordinated jewelry set to proudly wear.
Now that you’ve learned how to make seashell necklaces yourself, let your creativity flow and have fun creating unique jewelry with your children. Remember to wear them proudly and keep them as a memento of the wonderful moments spent together.